This is the multi-page printable view of this section. Click here to print.
Get started
- 1: Setup
- 2: Create a challenge
- 3: Play the challenge
1 - Setup
Goal
This tutorial will guide you through the installation and configuration of the CTFd-chall-manager plugin to use chall-manager.
Prerequisites
Ensure you have chall-manager running before starting this tutorial. You can find the relevant documentation for setup instructions.
Install the plugin
If you are not using the docker-compose.yml file, you need to clone the repository into CTFd/CTFd/plugins/ctfd-chall-manager.
# Clone the CTFd repository
git clone https://github.com/CTFd/CTFd

# Clone the plugin repository
git clone https://github.com/ctfer-io/ctfd-chall-manager CTFd/CTFd/plugins/ctfd-chall-manager

# Start Redis with Docker
docker run -d -p 6379:6379 redis:<version>

## Configure plugin to use redis serveur
export REDIS_URL=redis://localhost:6379

# Start CTFd
cd CTFd
python3 -m venv venv
source venv/bin/activate
pip3 install -r requirements.txt
python3 serve.py
# Clone the plugin repository
git clone https://github.com/ctfer-io/ctfd-chall-manager

# Create Docker network
docker network create testing

# Start Redis with Docker
docker run -d --name redis-svc --network testing redis:<version>

# Start CTFd with Docker
docker run -d -p 8000:8000 -e REDIS_URL=redis://redis-svc:6379 -v ./ctfd-chall-manager:/opt/CTFd/CTFd/plugins/ctfd-chall-manager --network testing ctfd/ctfd:<version>
After completing this step, you should be able to access the plugin settings configuration in the CTFd UI.

The plugin is visible in the UI
If the plugin does not appear, verify your container volume mounts, then check the CTFd logs for import module entries, such as:
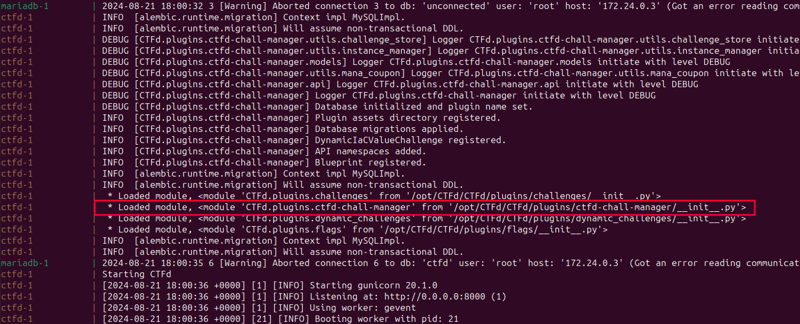
The plugin is visible in the logs
Configure the plugin to use chall-manager
To connect the plugin to chall-manager, go to the plugin settings.
The default configuration is:
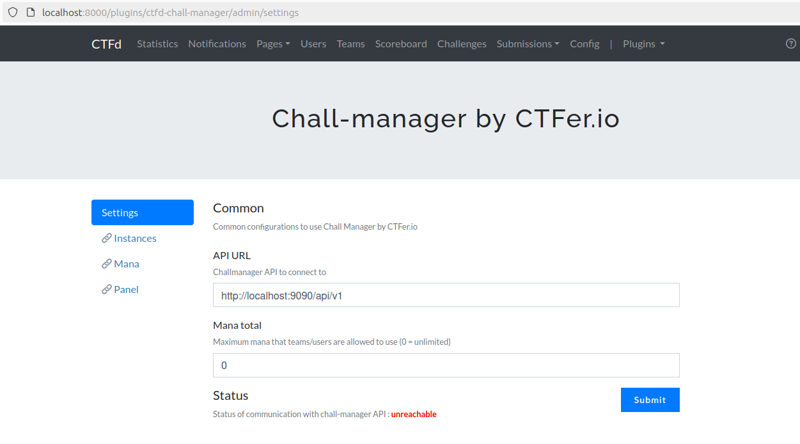
Default plugin configuration
Adjust the plugin settings to match your environment, ensuring CTFd can communicate with chall-manager. For instance:
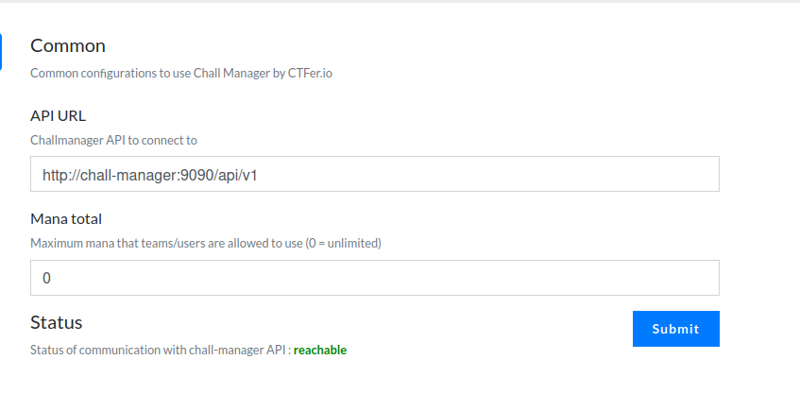
CTFd can successfully reach chall-manager
What’s next?
Congratulations! At this point, your setup is ready to use chall-manager for your CTF events.
2 - Create a challenge
Goal
In this tutorial, we will create a dynamic_iac challenge, a new challenge type introduced by the plugin.
If you are unfamiliar with the new attributes of the dynamic_iac challenge type, please refer to the related design.
For guidance on maintenance operations (e.g., modifying challenge attributes), please refer to the relevant guides.
For details on the Infra-as-Code scenario, consult the appropriate documentation.
Create the Challenge
For this example, we will create a challenge where each player gets their own instance. The instance will cost user 2 mana units, must be destroyed after 10 minutes without maximum due date, and using the scenario from the no-sdk examples.
Here are the basic CTFd settings:
| Key | Value |
|---|---|
| Name | example |
| Category | example |
| Message | example |
| Initial Value | 500 |
| Decay Function | Logarithmic |
| Decay | 10 |
| Minimum Value | 10 |
First, configure the scope. Since we want each player to have their own instance, disable the global scope.

Next, set the mana cost. Players will need to spend 2 mana to deploy their own instance of the challenge.

As mentioned, we want instances to be destroyed after 10 minutes of usage (600 seconds), without any due date.
Let the Until value empty, and configure de Timeout value at 600.

Then, provide the scenario archive. For this example, we’ll use demo-deploy.zip from the no-sdk examples.
Finally, click Create to set up the challenge.
Note
When you click Create, the upload process to the chall-manager may take several seconds. Please be patient.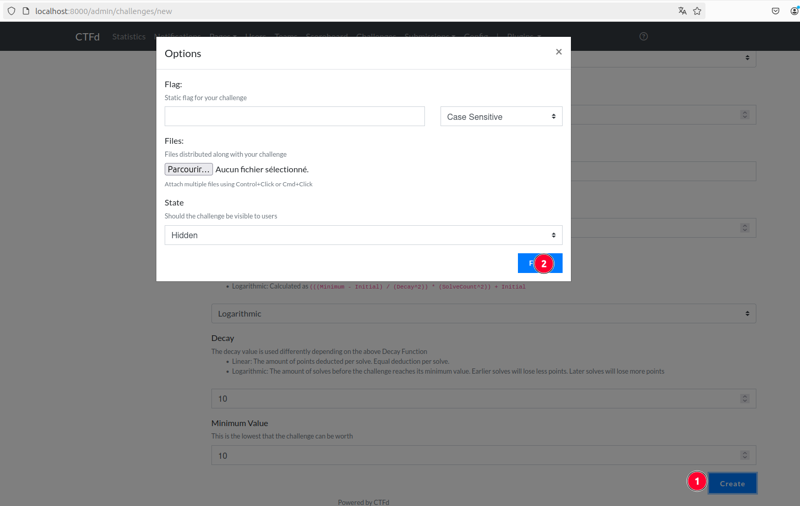
What’s Next?
Congratulations! Your CTF installation is now configured to use the chall-manager for this challenge.
3 - Play the challenge
Goal
In this tutorial we will see all actions a user has access to in order to control its instances.
Prerequisites
At this step, we assume that you are a CTF player, the infrastructure is already configured and you understand the key concepts, if not please refer to associated design.
Differents challenges mode
You can combine the values Until and Timeout to have 4 modes according to your needs:
Players can control all combinaisons, but each has these specificities.
Note
If global scope is enabled, only admins can launch the instance, see associated guide.For all challenges, the default view (instance is not booted) will display a button to launch the instance, the mana cost and the remaining mana for current user.
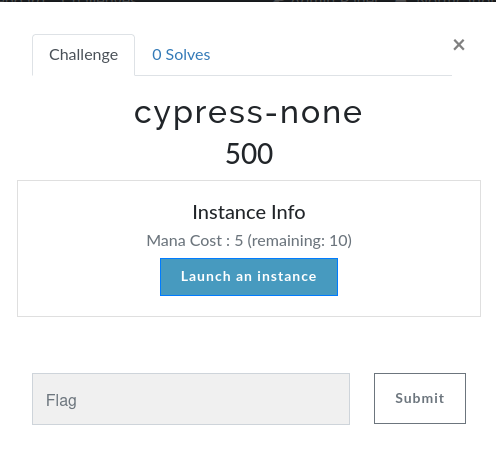
To start the instance, click on the button.
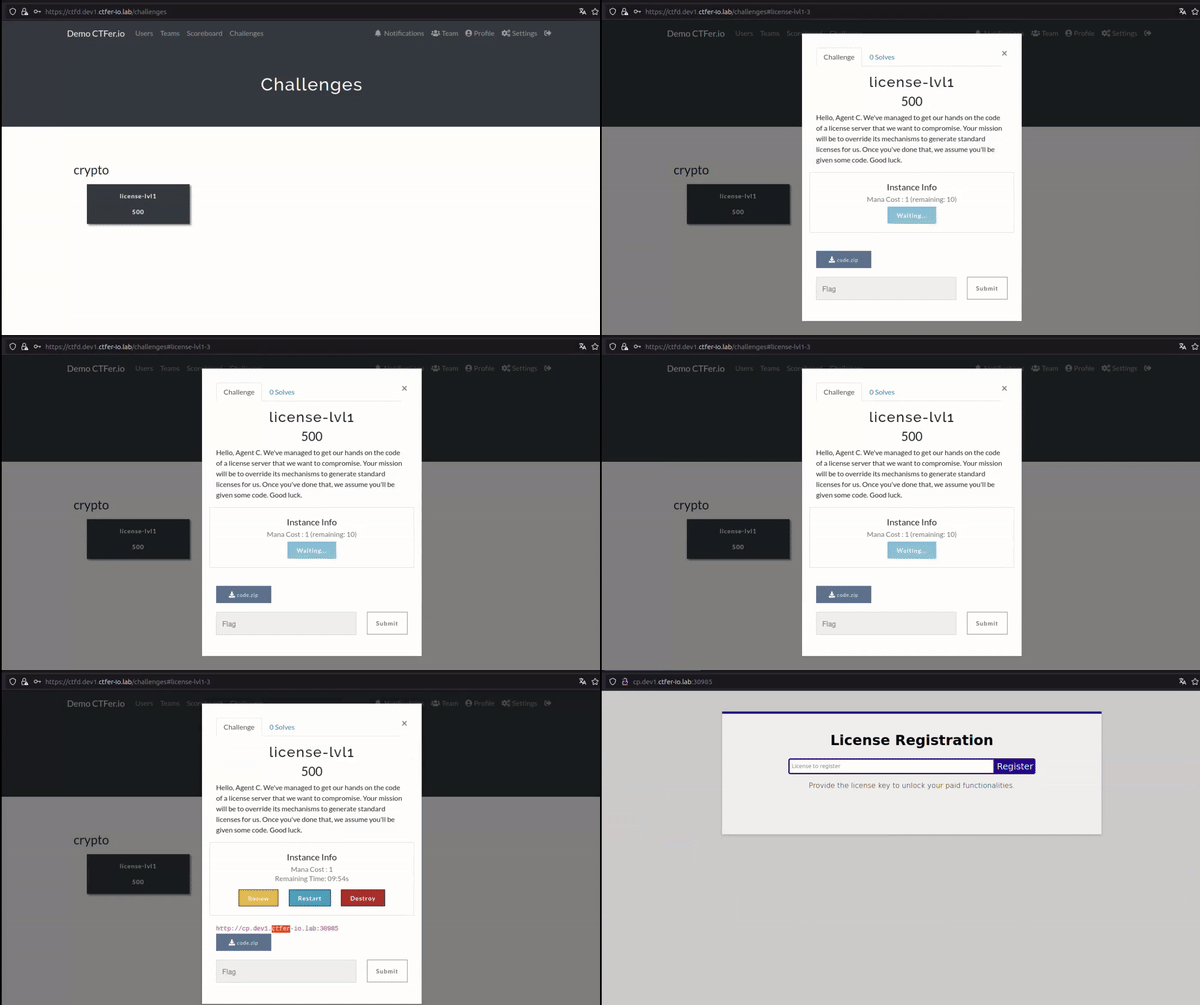
None
This mode allows you to use your instance with no duration limit. Its deployment can cost you mana, but if you want to regain it, you need to destroy the instance. If you want to reset your instance (either because it is soft-locked or you corrupted it), you can restart it.
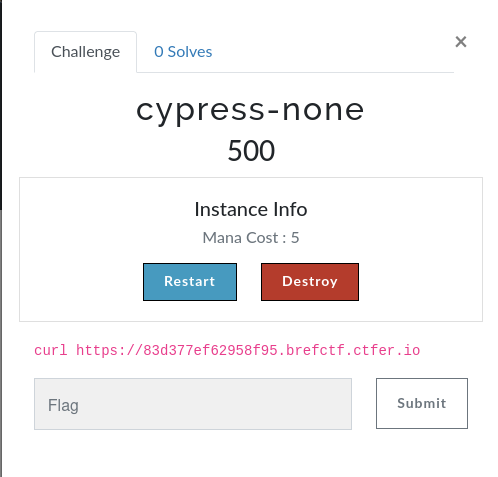
Until
This mode allows you to use the same actions as None mode, but the instance will be destroyed by the Janitor at a due date. Don’t worry, your mana will be automatically regained if the instance is janitored.
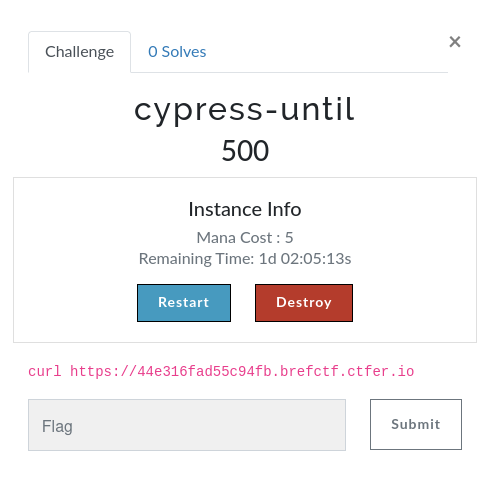
Timeout
This mode allows you to use the same actions as None and Until, but the instance will be destroyed by the Janitor n seconds after their start.
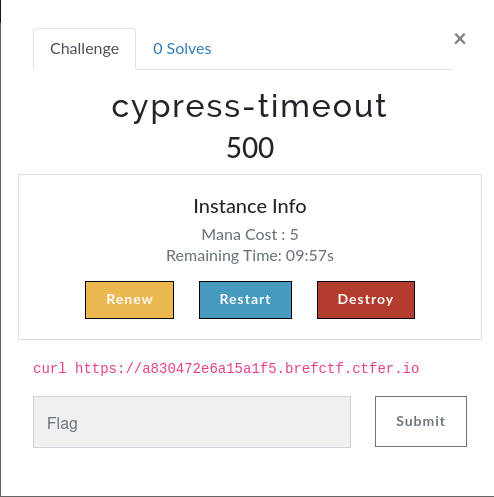
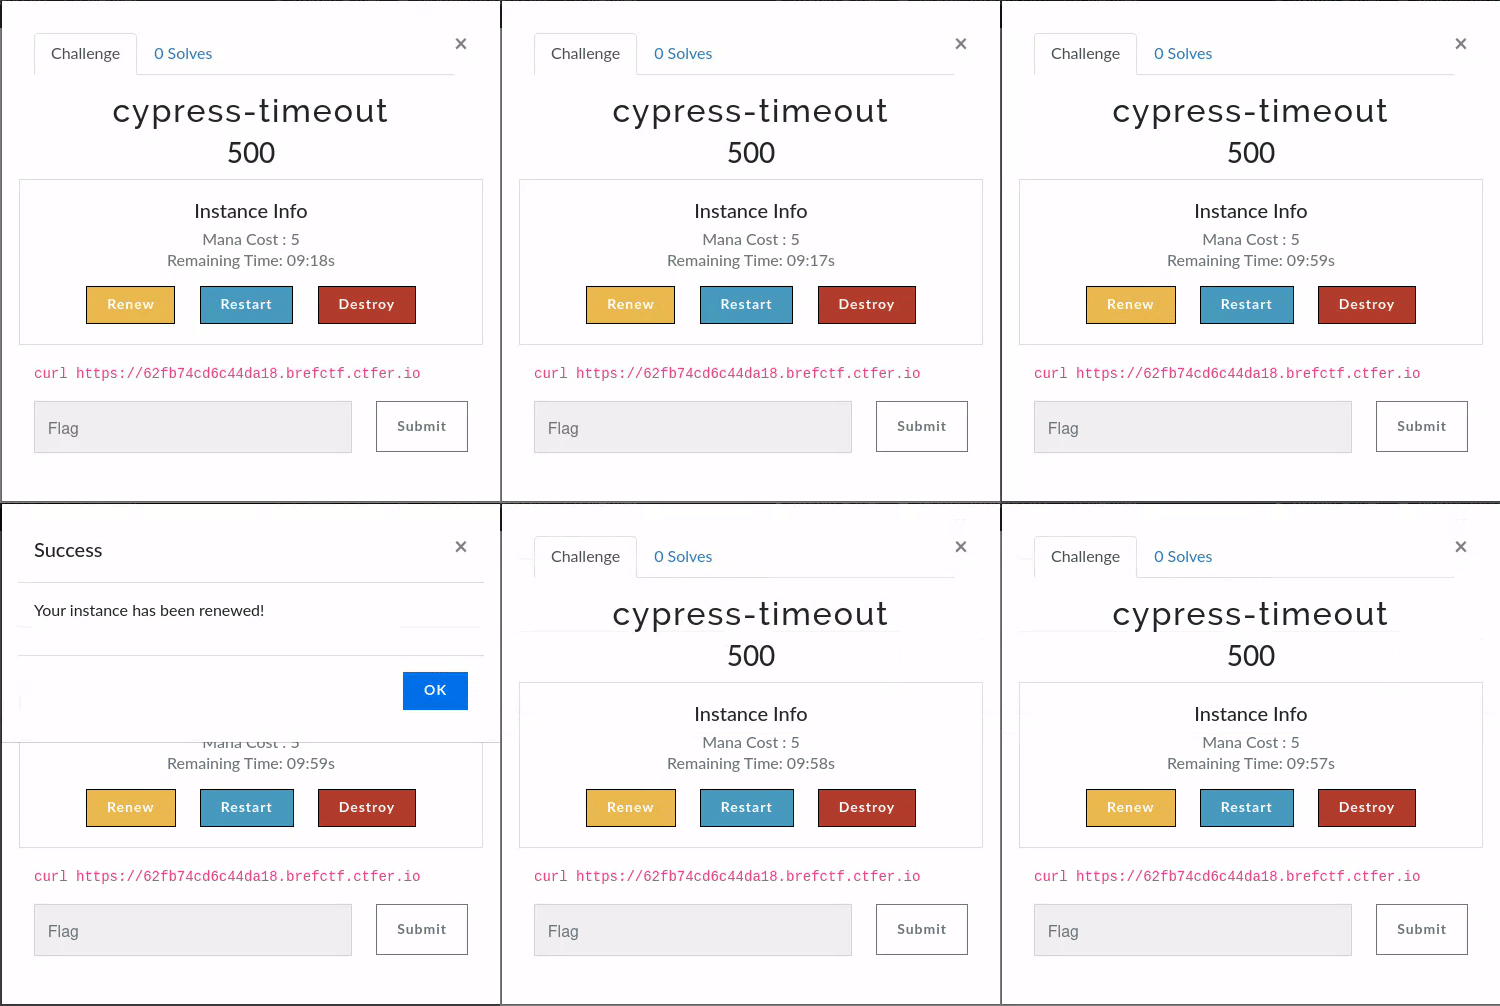
If you see that the Janitor will destroy you instance soon, you can renew the instance (reset the timer).
Both
With Timeout and Until, the plugin will display the timeout mode buttons, but Chall-Manager will take care of restricting or not the possibility of renewing the challenge based on the design.
What’s next ?
Congrat’s ! If you’ve made it this far, you’ll probably want to make a challenge for your event, and the plugin documentation doesn’t include explanations on how to do this, so please refer to the associated documentation.
Otherwise, you can learn more about the plugin’s design or advanced user guides here: